A practical review process for comparing named samples and recording a clear finish decision.
A finish review becomes difficult when “a little softer” is the only instruction attached to a reference image. Does the brand mean the color, the level of reflection, the texture, or the edge treatment? Each reviewer may be answering a different question.
A structured comparison makes the discussion more specific. Before selecting a preferred sample, identify what is being evaluated, how the reference will be viewed, and which decision the review is intended to support. The following process is a planning guide to agree with the people handling your project.
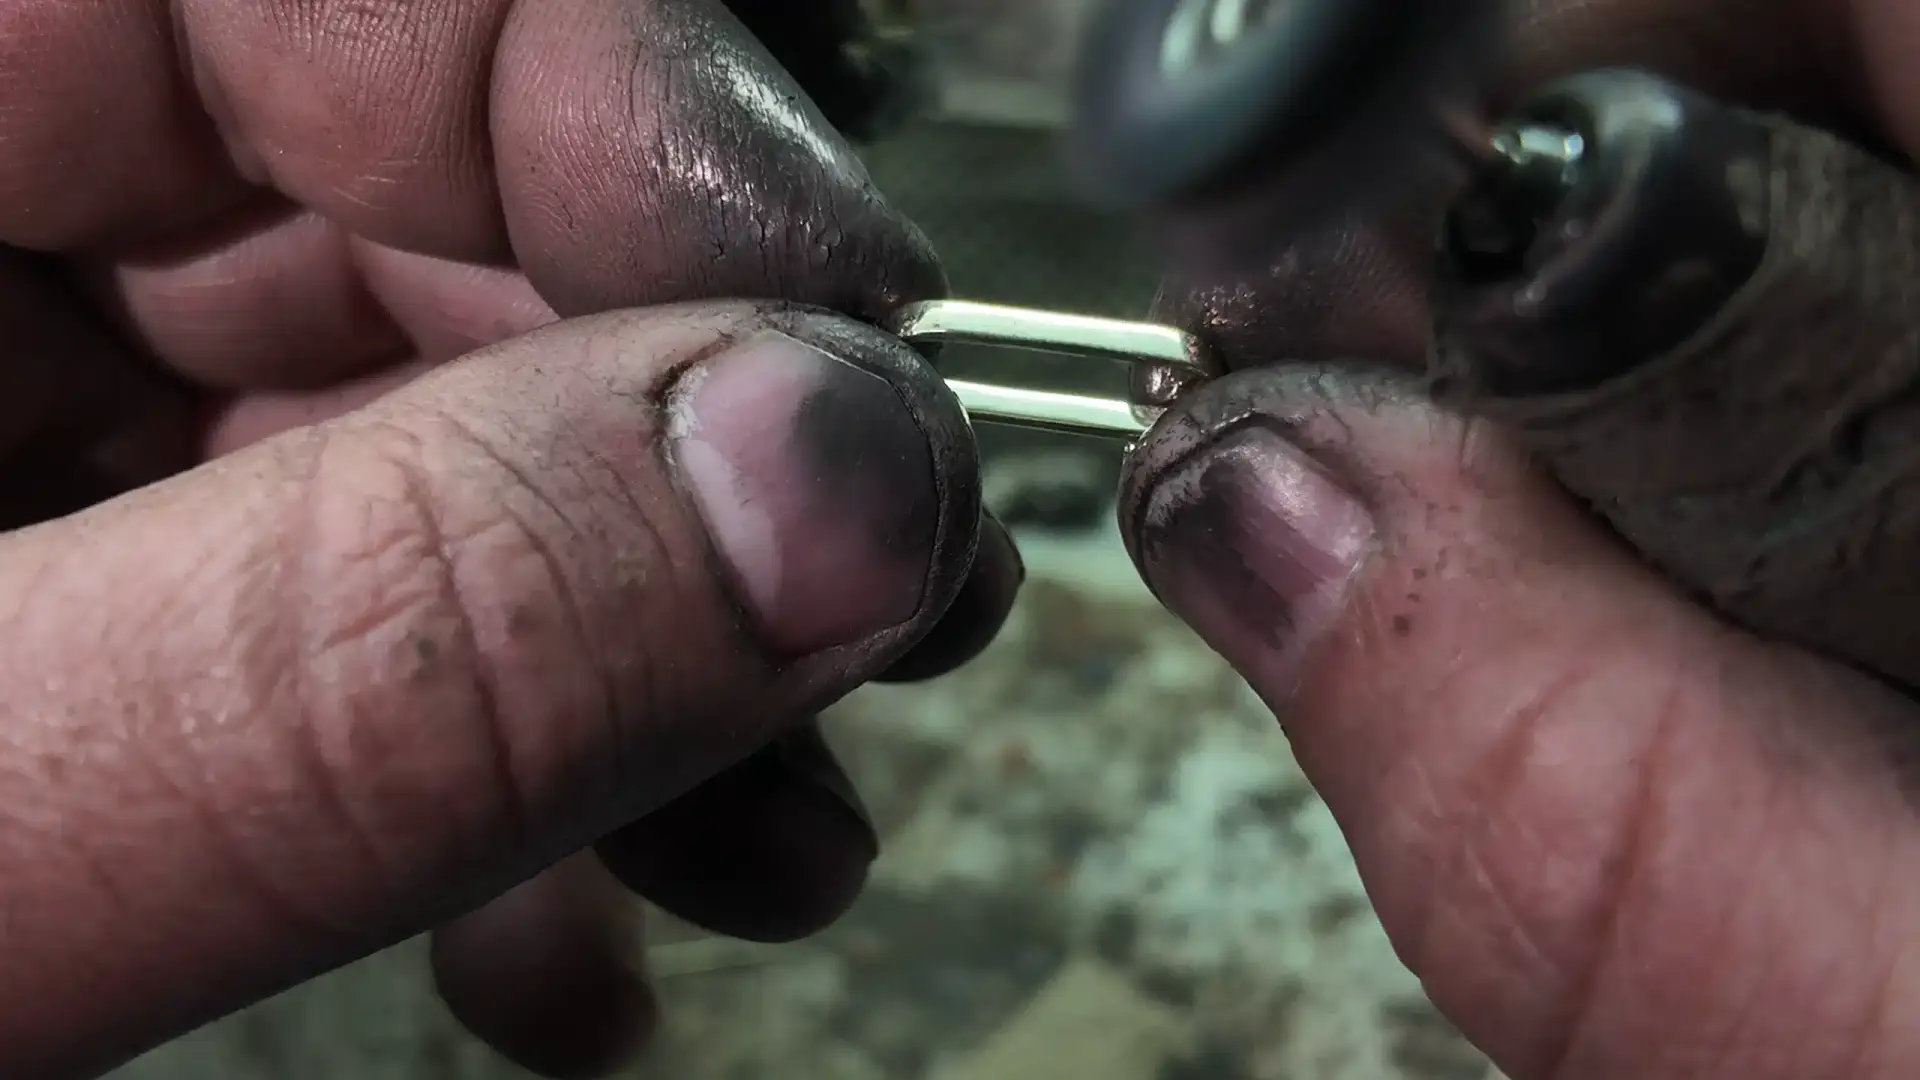
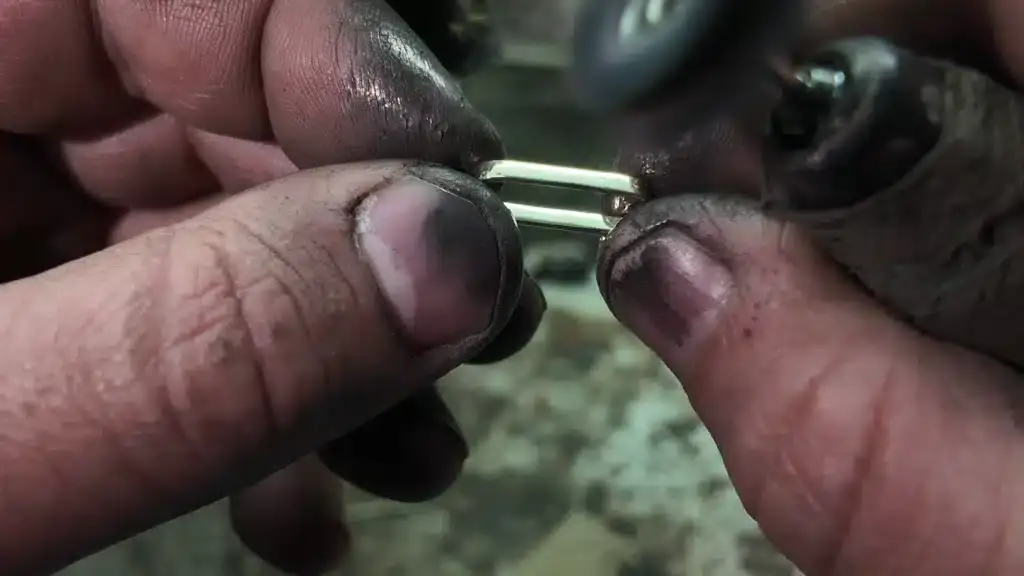
An oval component being hand-filed at the Bamina workbench.
01 · REVIEW PURPOSE
Define the question before the review
Write a short review brief. State whether the team is choosing between finish directions, comparing a sample with an agreed reference, or checking a particular area of a piece.
Identify the visible features that matter to the collection. A broad front surface may need separate comments from a recessed motif or edge. Avoid combining appearance approval with unrelated decisions about construction, materials, or order quantities. Each needs its own clear record.
02 · SAMPLE IDENTITY
Identify every sample and reference
Give each physical sample a unique ID and use that ID on its photographs and review notes. Record the relevant design revision, sample date, and the material or surface-treatment description supplied with it.
Label the purpose of each reference. One may indicate the preferred color while another shows the desired texture. If they differ, specify which feature each should guide. Do not leave the recipient to combine several examples into an assumed final result.
A BMNA-letter component and separate rod photographed on the Bamina workbench.
03 · VIEWING CONDITIONS
Compare under consistent viewing conditions
Place the candidate and reference together and agree the lighting, background, and viewing positions used for the comparison. Lighting can change a product’s perceived color; Konica Minolta’s visual evaluation guidance explains why consistent viewing conditions matter.
Record the conditions alongside the observations. If the team needs to assess appearance in more than one setting, label each assessment separately. Do not compare a candidate seen under one light with a reference photographed under another and treat the difference as conclusive.
04 · SEPARATE OBSERVATIONS
Review color texture and detail separately
Use separate notes for perceived color, reflection, surface texture, and the treatment of specific areas. Look at the same part of each piece from the agreed positions.
If the reference and candidate have different shapes, identify that limitation before deciding whether the finishes match. A flat reference and a curved jewelry surface do not provide identical viewing geometry. Ask which comparison method is appropriate rather than making an unsupported pass or fail decision from one photograph.
05 · SPECIFIC FEEDBACK
Write observations that invite a clear response
Replace “the finish is wrong” with a location and comparison: “The front surface appears more reflective than reference F02 under the agreed review light.” Add the sample ID and an annotated image where helpful.
Separate what you observed from what you want changed. Ask the project team to comment on the possible adjustment and any dependencies. This avoids turning an observation into an unverified instruction about the process needed to achieve it.
06 · APPROVAL CRITERIA
Agree the acceptance criteria
Confirm which reference controls each feature and how the final decision will be made. Where the team uses measurements or limits, have the appropriate technical parties define the method and acceptable range. Do not invent a numeric tolerance from a visual preference.
Record the reviewer, decision date, approved features, and unresolved items. A preference for one sample should not silently approve every aspect of the piece. State what still requires review and who will resolve it.
The takeaway
Keep the approved reference usable
Preserve the identified sample and its review record. Agree who holds it and what happens if it is lost, damaged, or replaced. Before reusing the approval for a later order, confirm that the reference and its scope still apply.
Contact Bamina to discuss your project brief and the finish references you want to evaluate.