From Concept to Prototype: A Step-by-Step Guide to Jewelry Model Creation

Bringing a jewelry design to life is both an art and a science. It takes creativity, planning, and precise execution. This post breaks down From Concept to Prototype: A Step-by-Step Guide to Jewellery Model Creation, offering a clear look at the journey each piece takes—from initial idea to physical form.

Every great jewelry piece begins with a concept. This first step focuses on translating ideas into rough sketches. Designers explore shapes, themes, and functionalities while keeping in mind the target audience. Whether hand-drawn or digitally illustrated, this sketch lays the groundwork for the model. Clarity in design at this stage saves time and cost later in the process.


Once the sketch is approved, the design moves to CAD (Computer-Aided Design) software. Here, the piece is modeled in 3D, allowing for precise measurements, stone placements, and structural adjustments. CAD files provide a detailed digital blueprint, ensuring accuracy and ease during manufacturing. This step also helps identify design flaws before physical production.


With the CAD model complete, high-quality renderings are created. These images simulate what the finished product will look like, including lighting, metal color, and gemstones. Clients or team members can now evaluate the design visually and offer feedback. Changes are easy to make at this stage, so approvals usually happen here before moving to the next step.


After final approval, the digital model is sent to a 3D printer. The most common outputs are wax or resin models, depending on the casting method. These prototypes are exact physical versions of the digital file. They give designers the chance to evaluate size, proportion, and comfort before creating the final piece. Adjustments can still be made easily if needed.


If the prototype is approved, it can be used to create a master mould. This mould becomes the basis for reproducing the design in bulk. It ensures consistency in every piece while preserving the fine details of the original model. At this point, the piece is ready for casting in metal and moving into the full production phase.


Before the piece moves into mass production, a final prototype—cast in metal and polished—is reviewed. This step ensures that the design looks, feels, and performs as intended. Any final tweaks are addressed here. Once approved, the jewelry is ready for full-scale manufacturing or client delivery.


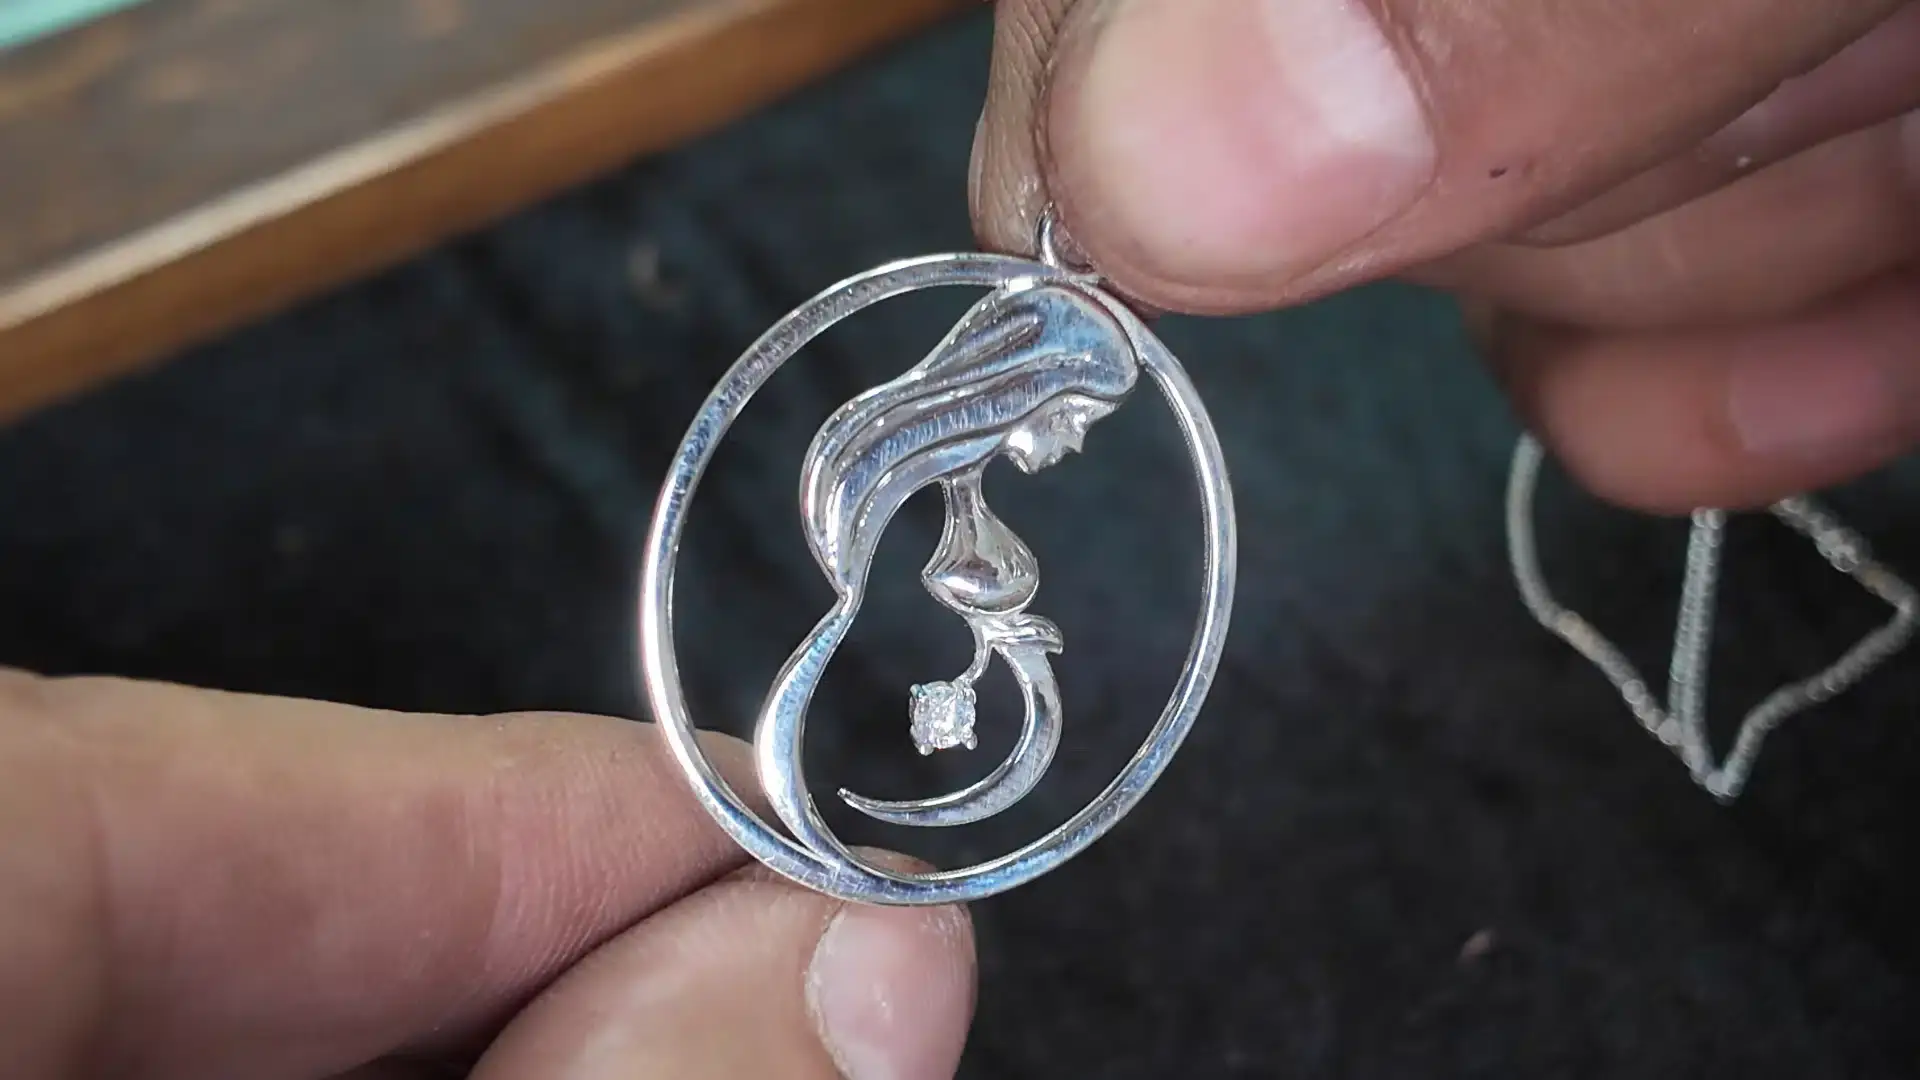
From Concept to Prototype: A Step-by-Step Guide to Jewellery Model Creation shows that thoughtful planning and clear processes lead to exceptional results. Each stage plays a key role in shaping not just a product, but a wearable work of art. With the right steps and attention to detail, turning a vision into a physical masterpiece becomes not only achievable but efficient and rewarding.

Create Your Design

Scroll to Top